
You can learn surf carving on foam waves before its time to surf real waves. You use the same techniques and and make riding foam waves more fun.
Start with the Correct Posture
When riding a foam wave to the beach, the posture must be squared to the front and the board balanced. The surfer that is a regular foot (left foot forward) rotates his upper body slightly towards the direction of carve and puts a little pressure on his toes.
Riding a soft top board in foam waves requires subtle pressure because the board is not moving fast and the rails are boxy. Too much pressure and the board catches an edge. Also, many beginners turn their whole body. They only need to rotate the upper body in foam waves.
Surf Carving to the Back Side
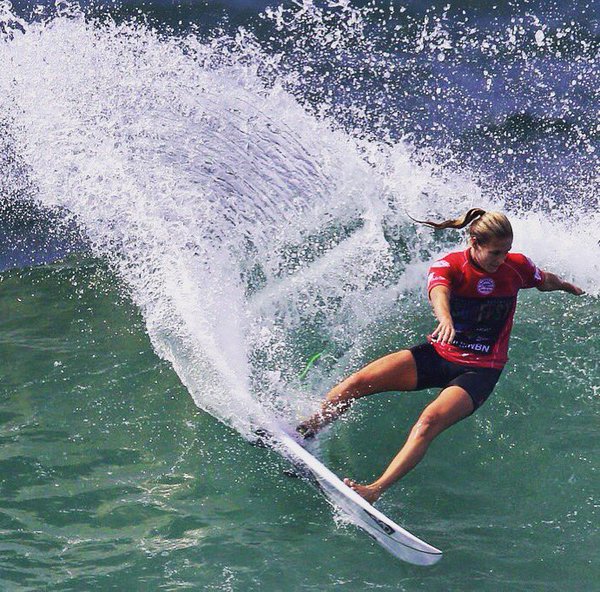
To go back side or left, the surfer in surf carving, rotates the upper body to the left and places a little pressure on the heels. The carve is made easier if the surfer pumps up and down a few times to get ahead of the foam and then carves into the little pocket that forms in front of the foam wave.
This technique can be advanced by carving first right and then left on the way in. It would be like carving down a hill on a snowboard. A final practice technique would be to go in one direction and then reverse the direction which is called a cut back.
Once the surfer is riding real waves, the surf carving is done in the pocket with the same techniques.
For Surf Lessons in Oceanside, see the Home Page
For a Surf video on Carving